

Assembling your Haptic Kit
- First, make sure that you have all the parts listed here.
- Second, you will need the following additional materials to assemble
your kit:
- retaining ring tool
- superglue and/or loctite threadlocker
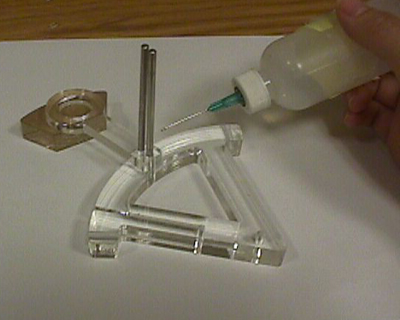
- acrylic cement with hypo applicator
- Attach the handle to the sector pulley using acrylic cement. Remember, with acrylic cement, a little goes a long way! Use the pair of holes and in each piece for alignment. You can use your shaft (plus another if you have one) to put in the holes in order to get good alignment. Leave the shafts in the holes while it dries (about 5 minutes).
- With acrylic cement, glue the sector pulley and the sector pulley stabilizer pieces together, using the shaft for alignment. The stabilizer should be on the same side of the sector pulley as the handle. The holes have a bit of a taper to them from the lasercam process, which is why you need the stabilizer. If the holes are too small to fit the shaft through, use a hand reamer to enlarge the holes. In the final assembled device, the shaft needs to rotate with the sector pulley, so try to keep a tight fit.
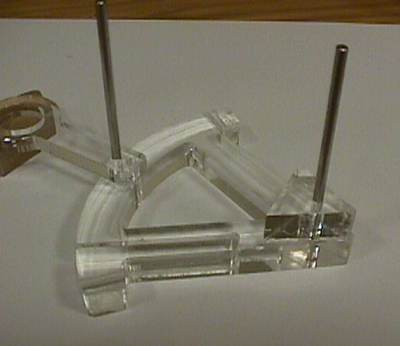
- Place one bronze bearing in each acrylic stand. The holes have a slight taper, so place it in the direction that gives the tightest fit.
- Glue the small and large acrylic stands to the wood base, using hot glue or epoxy (takes longer to dry). Again, use your shaft for alignment. Put the large stand in the slot closest to an an edge. The flanges of the bronze bearings should be facing the outside.
- Now you are ready to assemble all the pieces on the shaft. The sector pulley goes in between the two stands. The small triangular piece (stabilizer) on the sector pulley should face the small acrylic stand.
- Use the retaining ring tool to place a retaining ring against the flange of each bearing. The sector pulley and shaft should rotate easily.
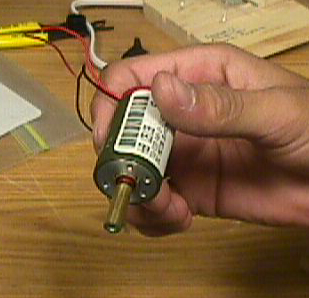
- Glue the motor pulley onto the motor. You can use loctite or super glue. The pulley should be almost all the way up against the motor housing. Wait for the glue to dry, then screw the motor onto the large stand using the metal screws provided.
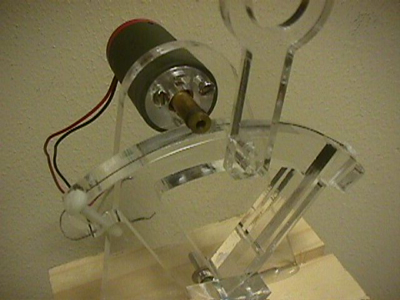
- Determine where the sector pulley should be on the shaft. You want there to be lots of overlap between the pulley and the top surface of the sector pulley, but you don't want the pulley to bang into the handle. Also, you want most of the extra shaft length to overhang in front of the small acrylic stand, because the magnet needs to mounted there. When you have found the correct position, glue the sector pulley to shaft with loctite or superglue.
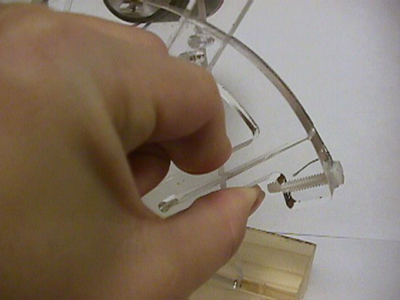
- When that dries, put on the string. Use the nylon screws and washers to affix the string at each end of the sector pulley. Wrap the string 3 to 4 times around the motor pulley. The cantilevered part on the sector pulley is there to help you keep the string in tension. If you hold it closed when tightening the nylon screws, it will tension the string when released. Move the handle back and forth to make sure the string travels properly.
- The next several steps are for attaching the magnet and sensor. Glue the magnet to the magnet mount (the small acrylic block with the hole) on the side opposite of the hole. The magnet should be centered. A bead of hot glue works fine.
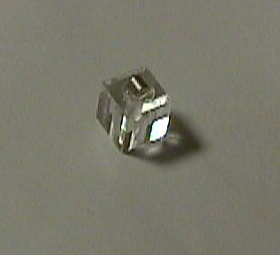
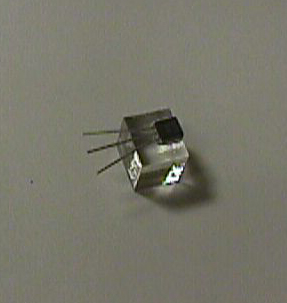
- Glue the sensor to the sensor mount. Use the tallest direction for the height of the sensor (it is not a square cube). Superglue works well for this.
- Glue the magnet mount (and thus the magnet) to the shaft. You want the magnet to be horizontal when the sector pulley handle is pointing straight up.
- Glue the sensor mount onto the wood base. You want the sensor to be as close as possible to the magnet without hitting the magnet or its mount. Hot glue is a good choice here in case you need to move it.
- You are now done with the assembly. You will want to calibrate your sensor to determine the relationship between voltage output and angle of the sector pulley.
Allison Okamura - allisono@cdr.stanford.edu
© 1998
© 1998
![]()
![]()
![]()
![]()