Wax block and Vacuum Chamber
The use of a vacuum chamber is required during the pouring of the polyurethanes
we are using. The entire palette must be able to be placed in the
chamber. Shown below is a 12"x12"x3" blue
wax pallet that we are currently using. The vacuum chamber we
are using (shown in figures 10 and 12) has a 17" ID, and is about 10" deep,
just large enough for the wax blocks we are using.
Figure 1
![]()
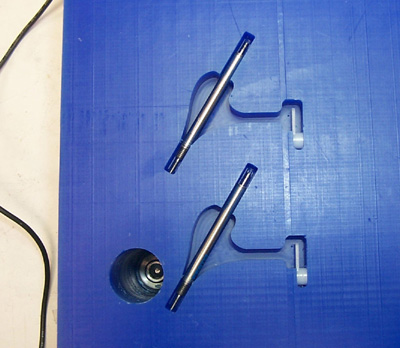
Place Embedded Components
In the example shown in this tutorial, we are embedding a piston and
a servo-motor connector in a bi-material shoulder joint. Before pouring
the urethane, the cavity or mold should already be prepared, and components
placed. Placement of the imbedded components can be critical for functionality,
so appropriate means should be taken to secure and fixture them.
Here both parts have been press fitted into the blue wax.
Figure2
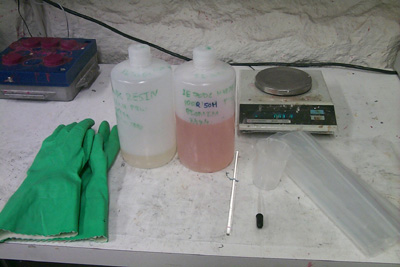
Prepare Equipment
Collect 2 sealable plastic bags, a glass stirring rod,
an eye dropper, paper towels, urethane resin and hardener,
gloves and cups. Latex gloves should be worn at all time,
and an outer (dirty) pair of green gloves (shown below) should also
be worn when handling the un-mixed urethanes or their bottles. 2
cups are required (only one is shown in the picture!). A small
one (shown) is used with the eyedropper for precise measurements, and a
larger one is used for mixing. The size of the larger one depends
on how much material you are pouring. In any case it should be at
least 3x as large as the volume of plastic you plan to use.
Figure3
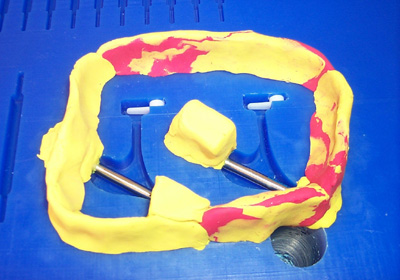
Build a dam
Make a dam using the clay that is *higher* than the thickness of urethane
you need to pour. We commonly use modeling clay to build the dam
walls, but other materials can be used. In any case a water-tight
structure should be created. The yellow island in the middle was
made as high as the walls, so that all of they clay could be removed before
the urethane was machined--since the clay gums up the cutting tools.
Note that due to pressure difference caused by the vacuum, any and all
small cracks will be filled with the urethane.
To avoid the formation of air bubbles in the urethane during curing, it is important to place the wax and clay in the vacuum chamber for a few minutes before the pouring begins.
Figure4
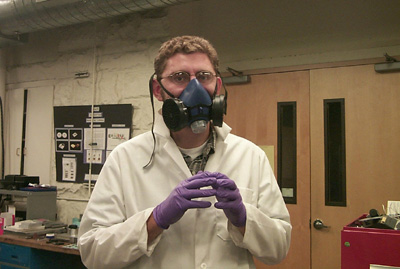
Dress to pour
In their liquid states, both the resin and the hardener are unhealthy,
and therefore avoiding contact and inhalation are recommended. Filtered
masks, lab coats, and two pairs of gloves are recommended. Excellent!
Figure5
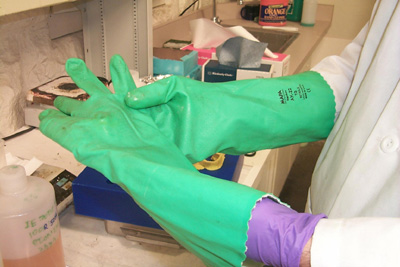
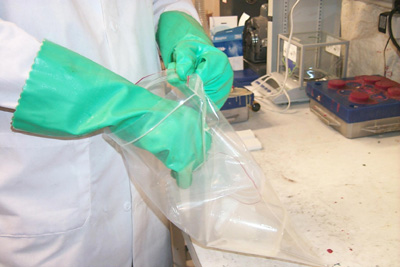
Use of green gloves
The green rubber gloves should be worn on top of the (purple) latex
gloves. These should be considered "dirty" and used whenever the
bottles or liquid resin or hardener are handled. Also shown on the
left side of Figure 6 is the scale which is used to measure the amount
of liquid resin & harndener. Make sure to have paper towel or
the equivalent between it and the plastic cup.
Figure6
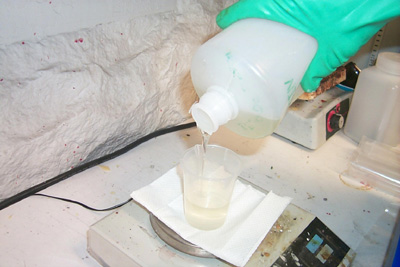
Pouring Hardener
Make sure the scale is zeroed with the empty cup and paper towel.
Listed on the materials page is the
proportion of resin to hardener that is to be used. Ratio of resin
to hardener range from 5:1 to 1:1.
Make sure to pour the larger portion first. (Usually Hardener)
Shake hardener for a while and then pour the appropriate percentage
of the volume you are going to need into the cup.
Figure7
Second Pour
Remember the scale reading, quickly calculate the amount of (resin)
needed and zero the scale.
Shake the resin and pour it in until you are close to the required
(use the eye dropper when you get close - the exact ratio is very important).
Pour a small amount of the resin into the second (small) cup to make using
the eye dropper easier. Be precise, but don't take too long.
Figure8
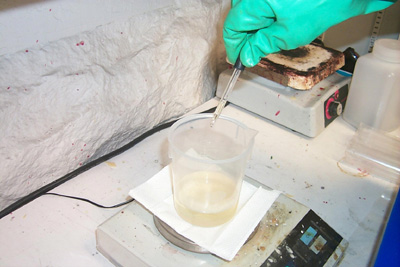
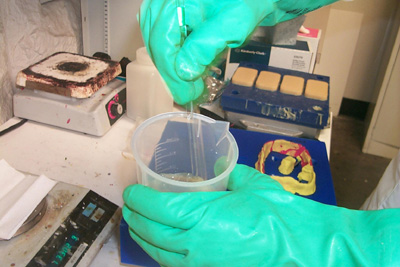
Mixing
Use the glass rod to quickly and thoroughly mix the urethane
Figure 9
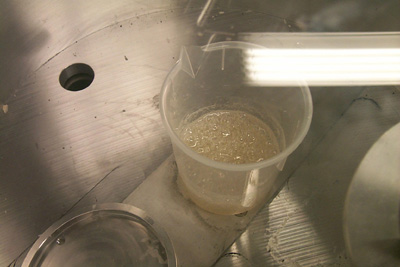
Place the palette in the vacuum chamber (you may have to cross your
arms backwards to get it in)
Put the cover on the top and start the vacuum pump.
Bring the pressure down to about 27mmHg below atmospheric. The
urethane my briefly boil and increase it's volume to 2-3 times its normal
size, then decrease again.
Let the urethane bubble for about 30 seconds and then turn off the
pump.
Slowly decrease the pressure differential.
Figure10
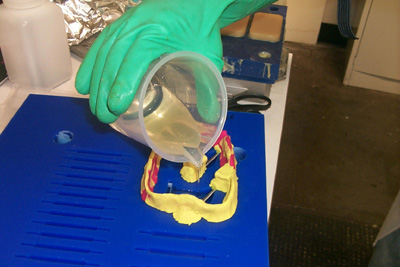
Pour the urethane
Pour onto the palette. Make sure to pour at least 1/4" of urethane
above the top of the actual part. This is easily removed, and helps
reduce the chance of getting surface irregulariites due to air pockets
or bubbles in the actual part.
Figure11
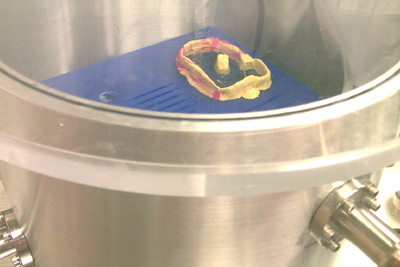
Vacuum
Immeaditely after pouring place the palette and liquid polyurethane
in the vacuum chamber and once again raise the relative pressure to about
27mmHg, and allow it to sit for a minute or so. Air bubbles should
rise slowly from the bottom and corners of the part. After about
a minute the number of bubbles should decrease. As you slowly raise
the pressure, all of the remaining bubbles should dissipate.
Let the urethane cure for 2 hours before proceeding. You may
opt to leave the part in the vacuum chamber at pressure differential of
5mmHG for some or all of this time.
Figure12
Waste Removal
Place all contaminated cups, eye droppers, paper towels, etc. inside
both plastic bags. Double seal the bags and dispose of in the hazardous
waste material bins, which should be properly labeled.
Figure13
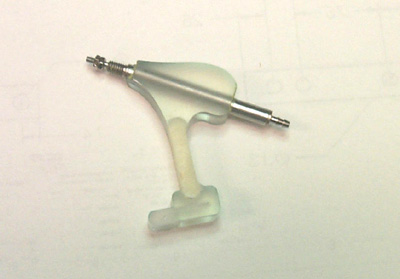
Final Part
Below is shown our bi-material part with imbedded pneumatic piston
an servo connector in its final state.
Figure14